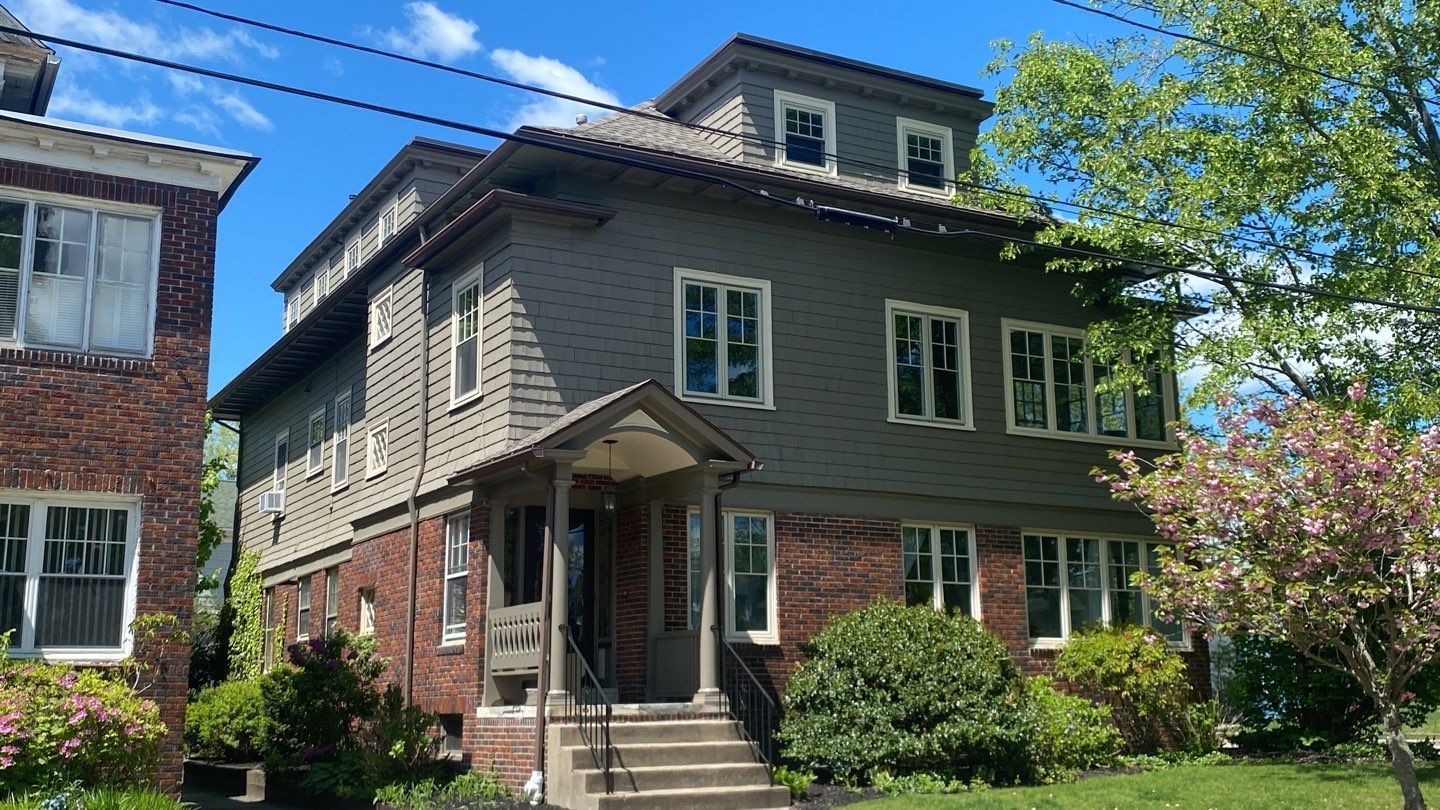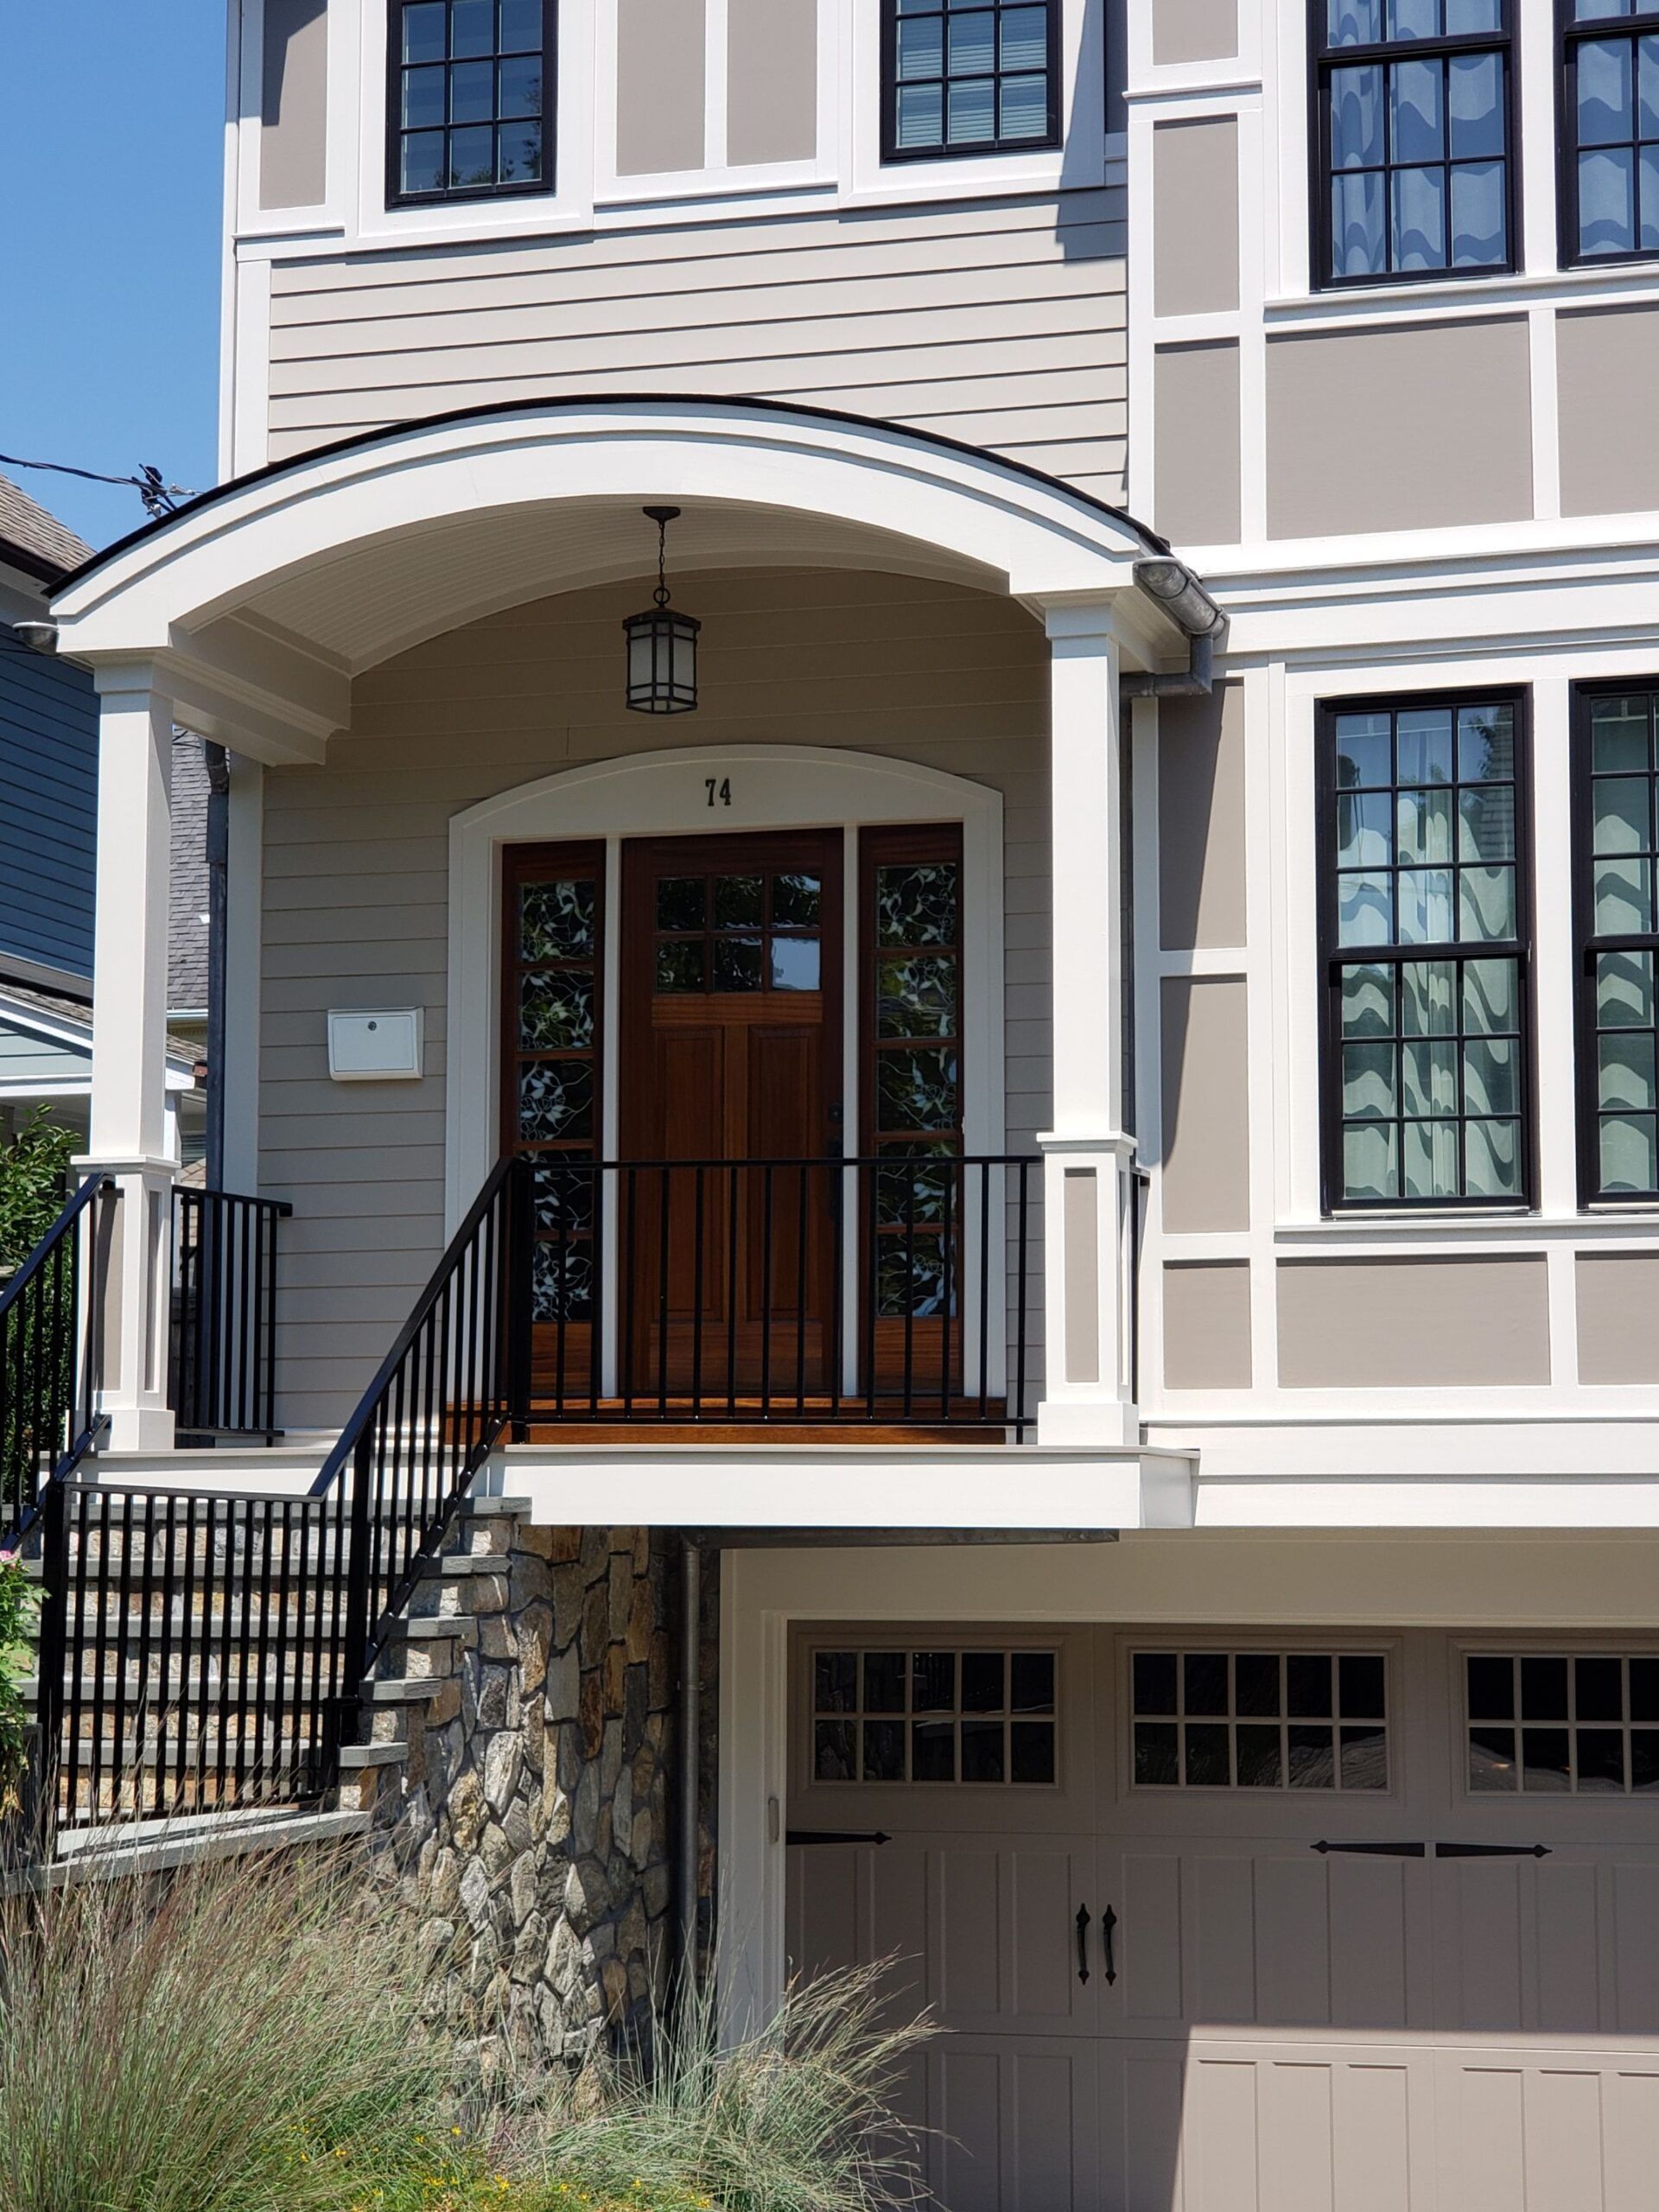
Refresh Your Vinyl Siding with More Custom Color Options
May 3, 2016
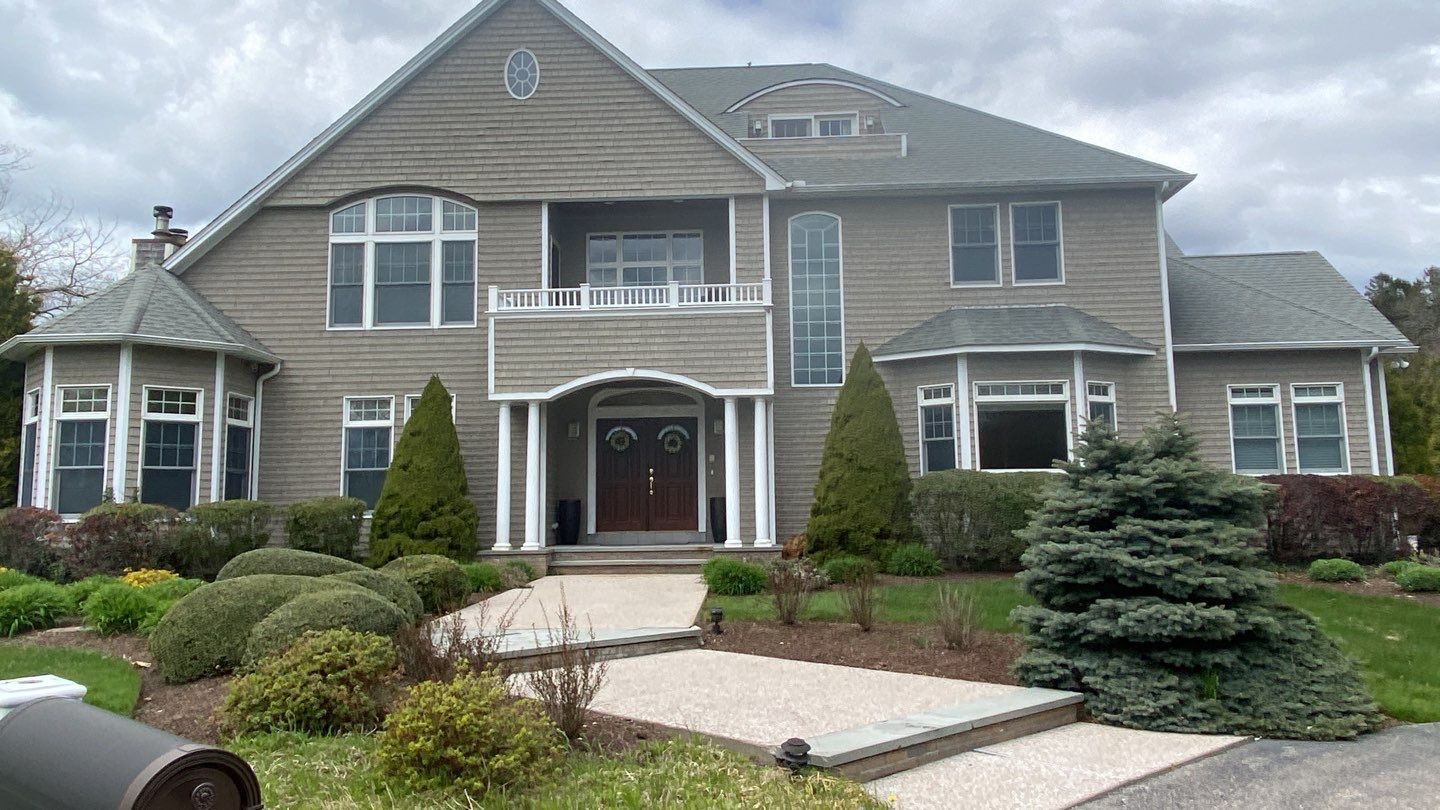
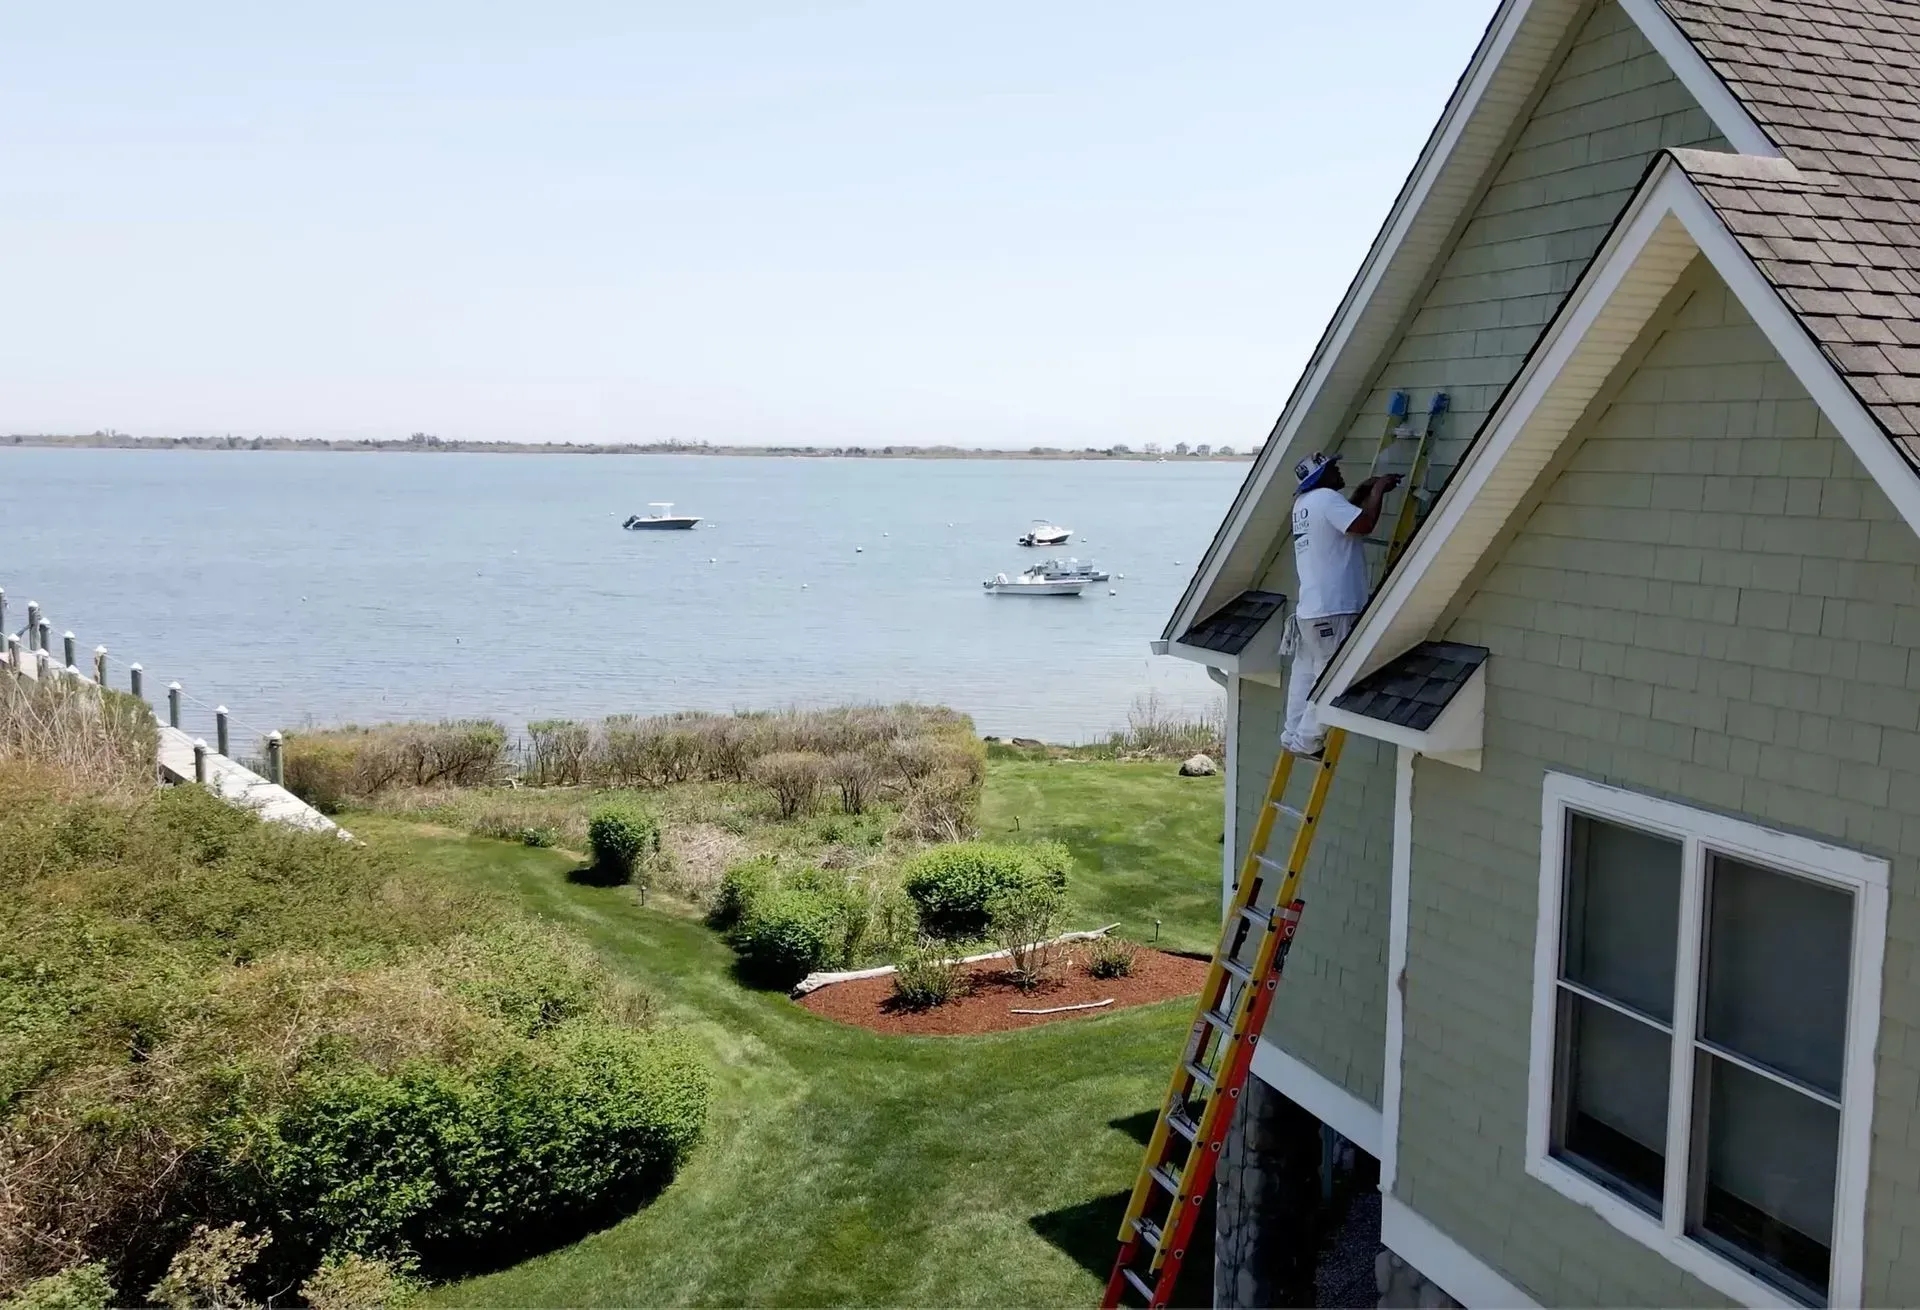
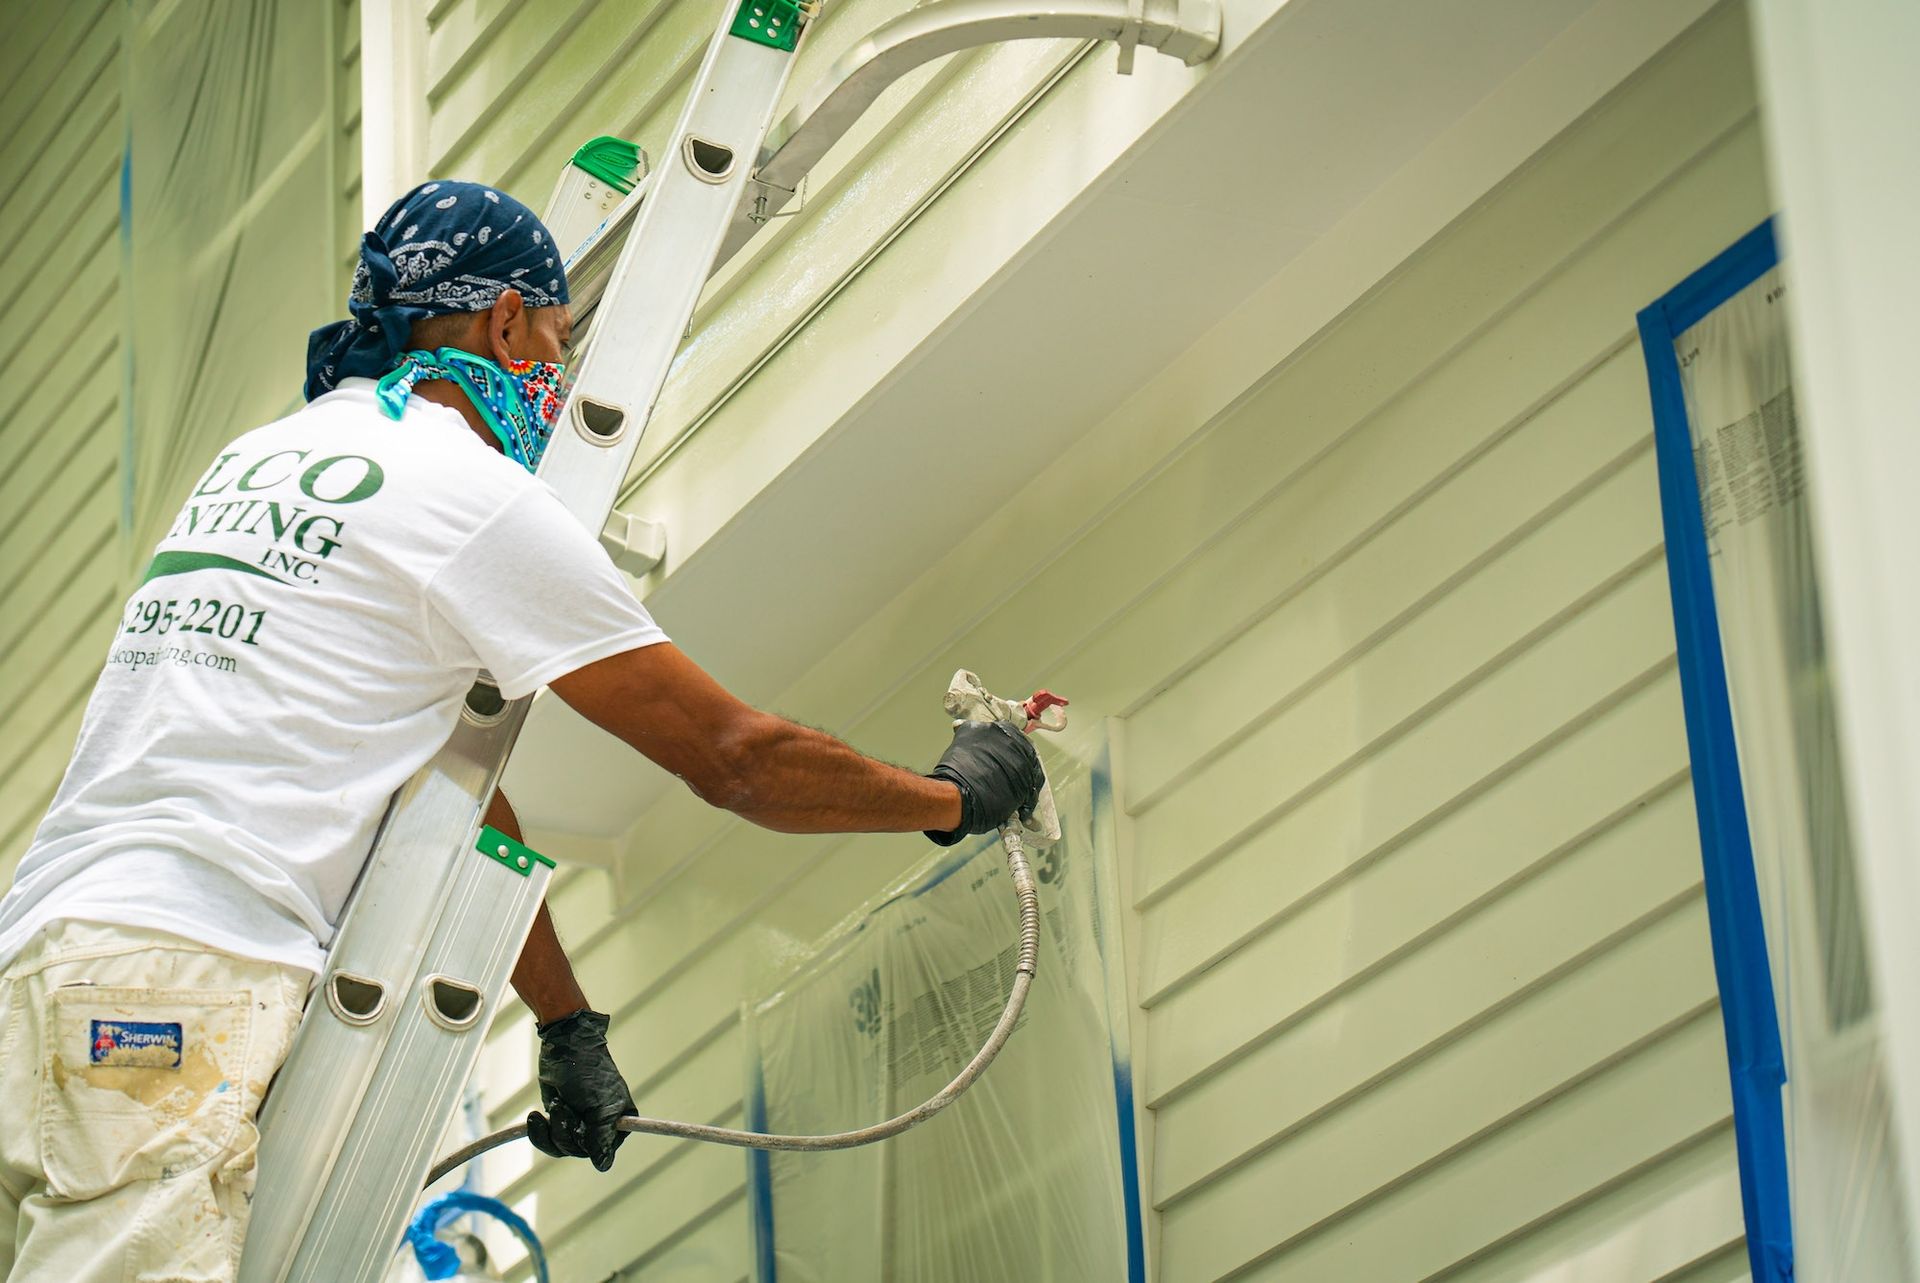
Until now, there were limitations to painting vinyl siding. Using a dark color on top of lighter siding would cause the siding to buckle. Your only option was to choose the same color or lighter. No longer. Choose from 100 popular color options in our new VinylSafe™ palette, or have our Sher-Color™ computer matching technology create the custom match you’ve been looking for.
RELATED ARTICLE
How long does exterior paint really last in Rhode Island? Learn what affects paint lifespan, signs it’s time to repaint, and how to protect your home from tough New England weather.

Planning summer painting projects for your school or church? Learn how early planning, phased scheduling, and smart timing can help reduce stress and keep projects running smoothly.
What should facility managers look for after winter? Use this spring walkthrough guide to identify damage, assess risk, and plan maintenance.
Should you clean windows before or after painting? Learn the best order, why timing matters, and how to get the best final result for your home.
Stay ahead this Q2 with a commercial painting checklist for Rhode Island properties, covering inspections, repairs, and early project planning.
Plan ahead for spring and summer painting projects to secure your spot, avoid delays, and achieve better results with less stress.
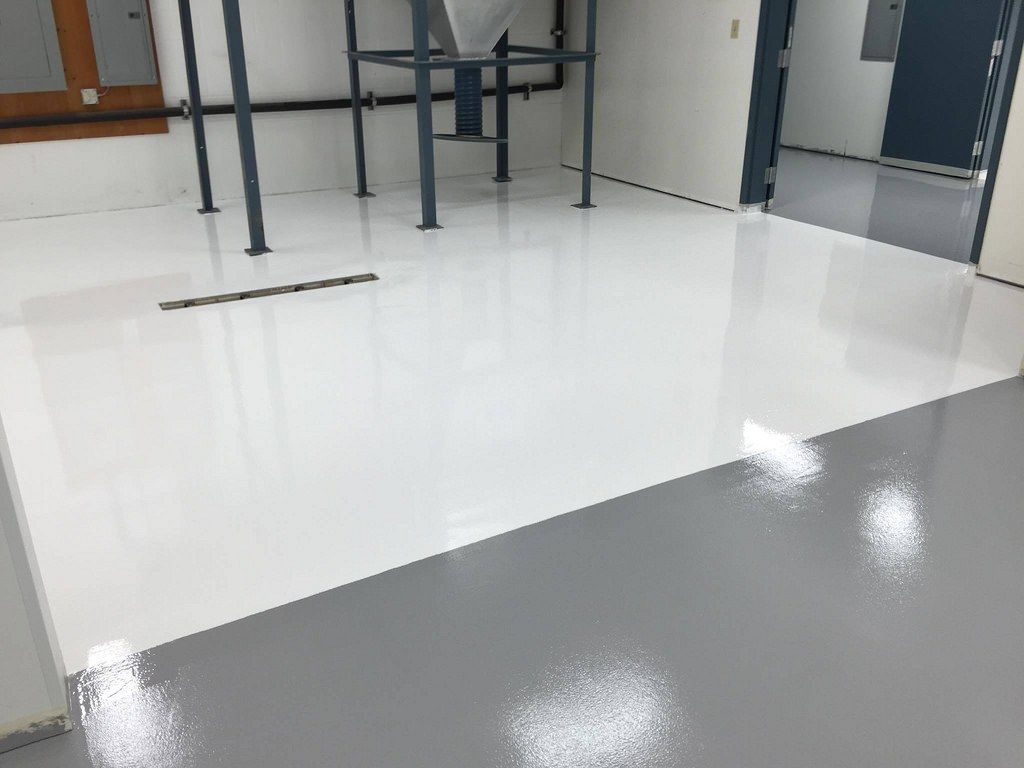
From warehouses to healthcare facilities, see why industrial epoxy flooring delivers long-term value for Rhode Island businesses.
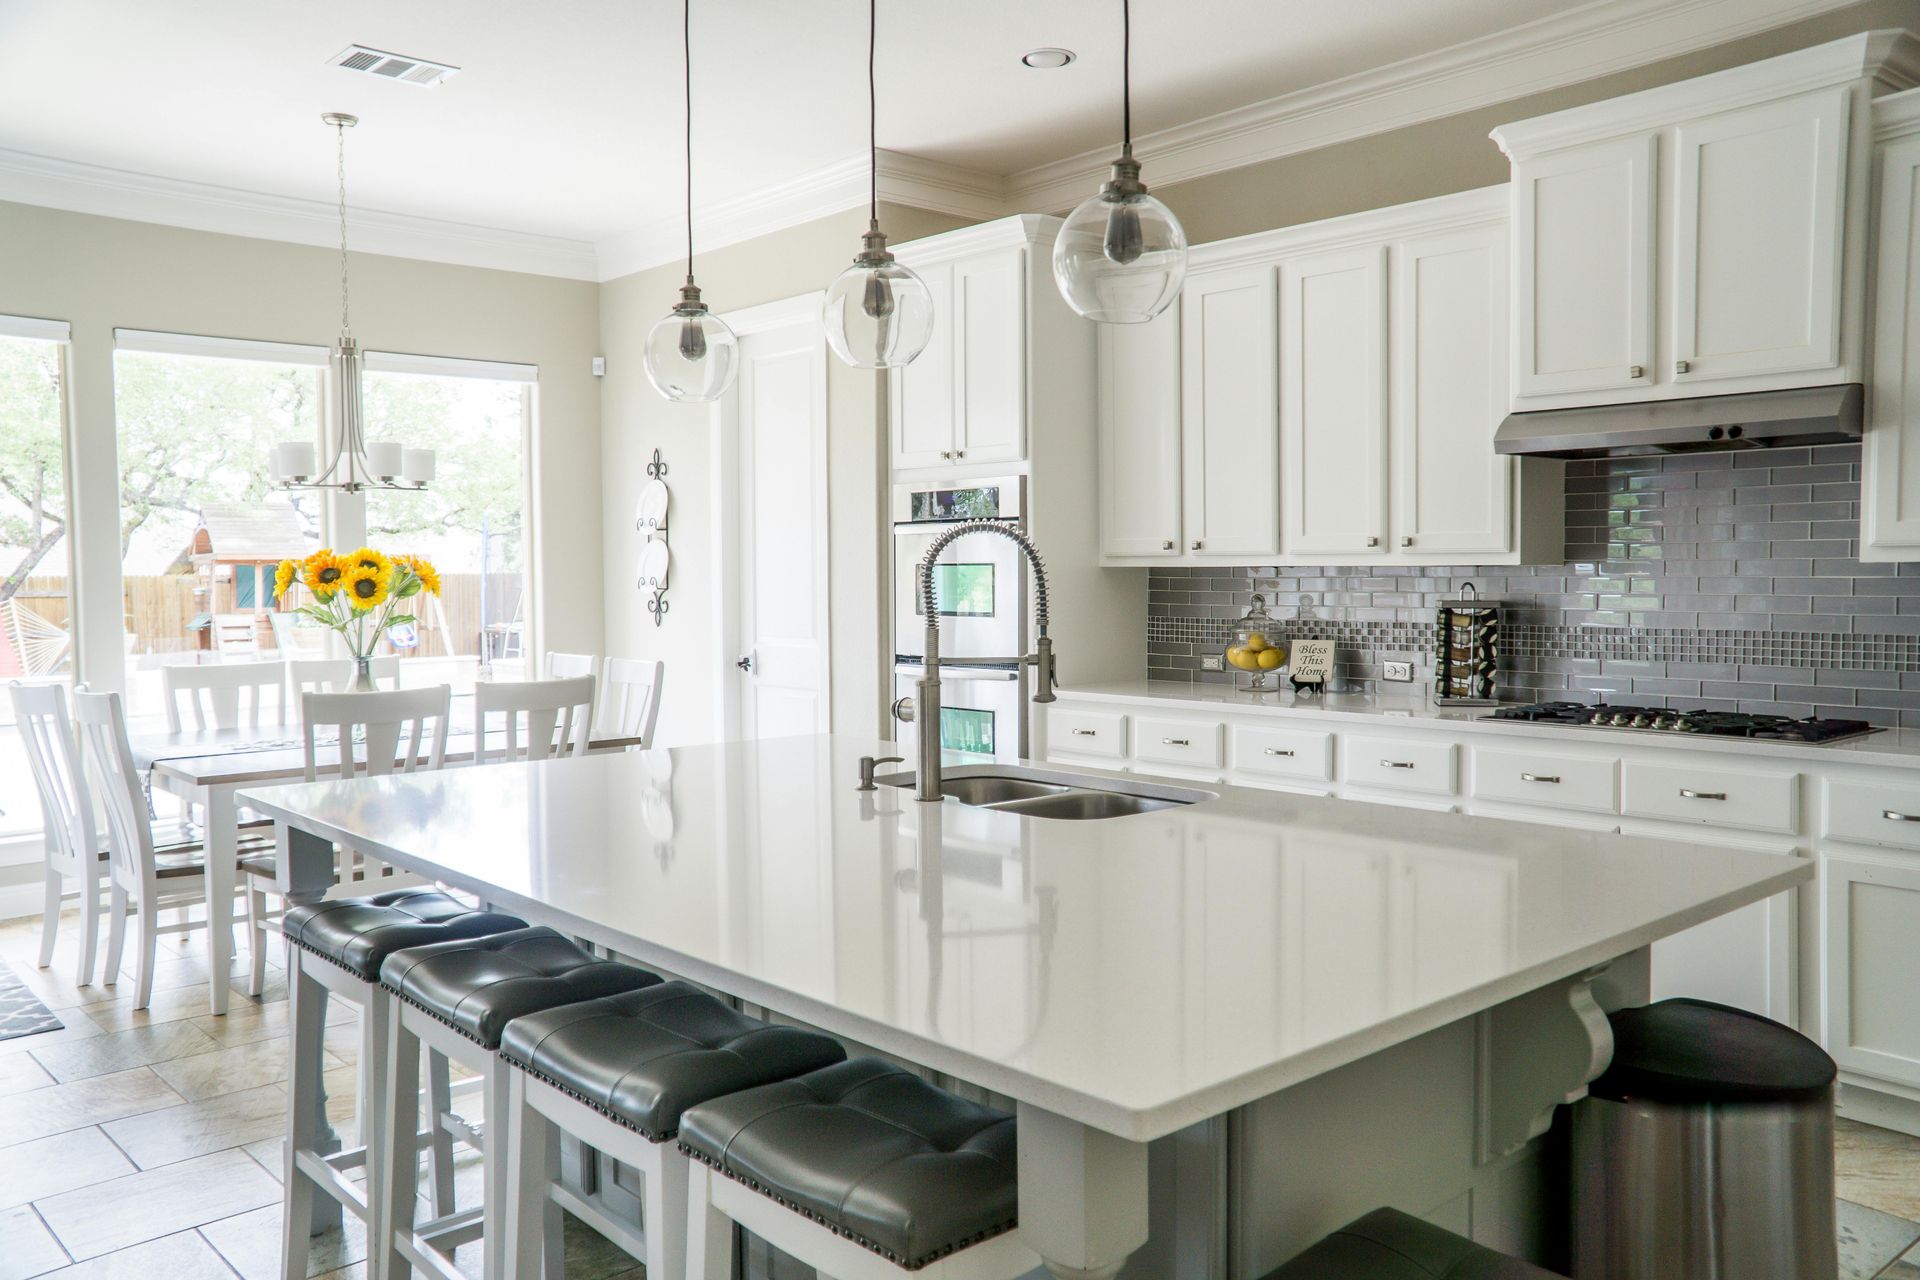
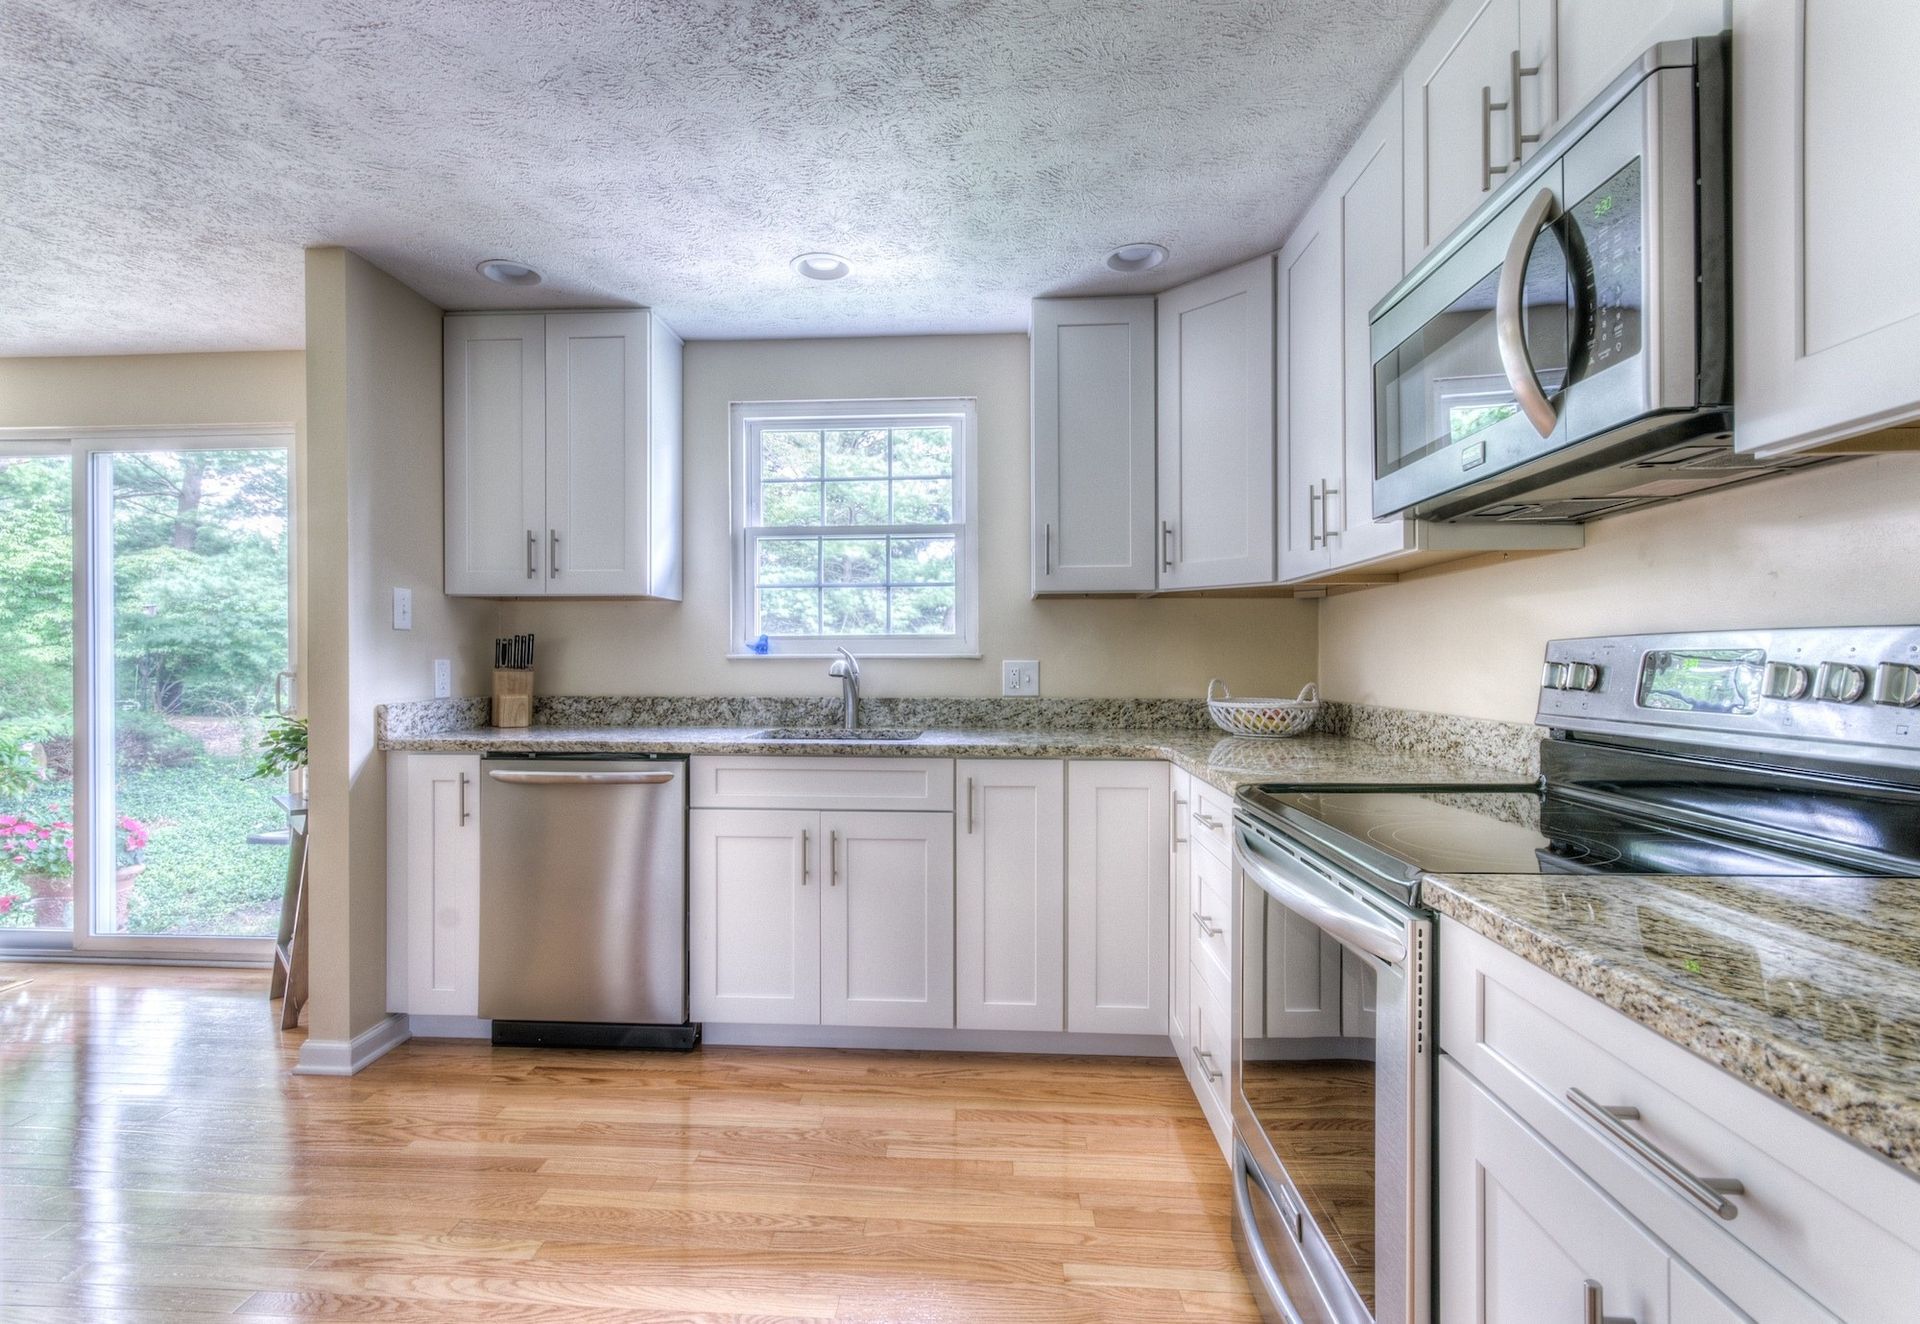
Cabinet painting or full replacement? Compare real costs, timelines, and durability to find the smartest upgrade for your Rhode Island kitchen.
Think painting is a spring project? Not in Rhode Island. Here’s why January is the best time for interior painting and how to plan it the right way.

Winter is a smart time for commercial interior painting in RI! Discover why fewer disruptions, better crews, and efficient planning make it a season worth choosing.