Patching Drywall: Can You Do It Yourself?
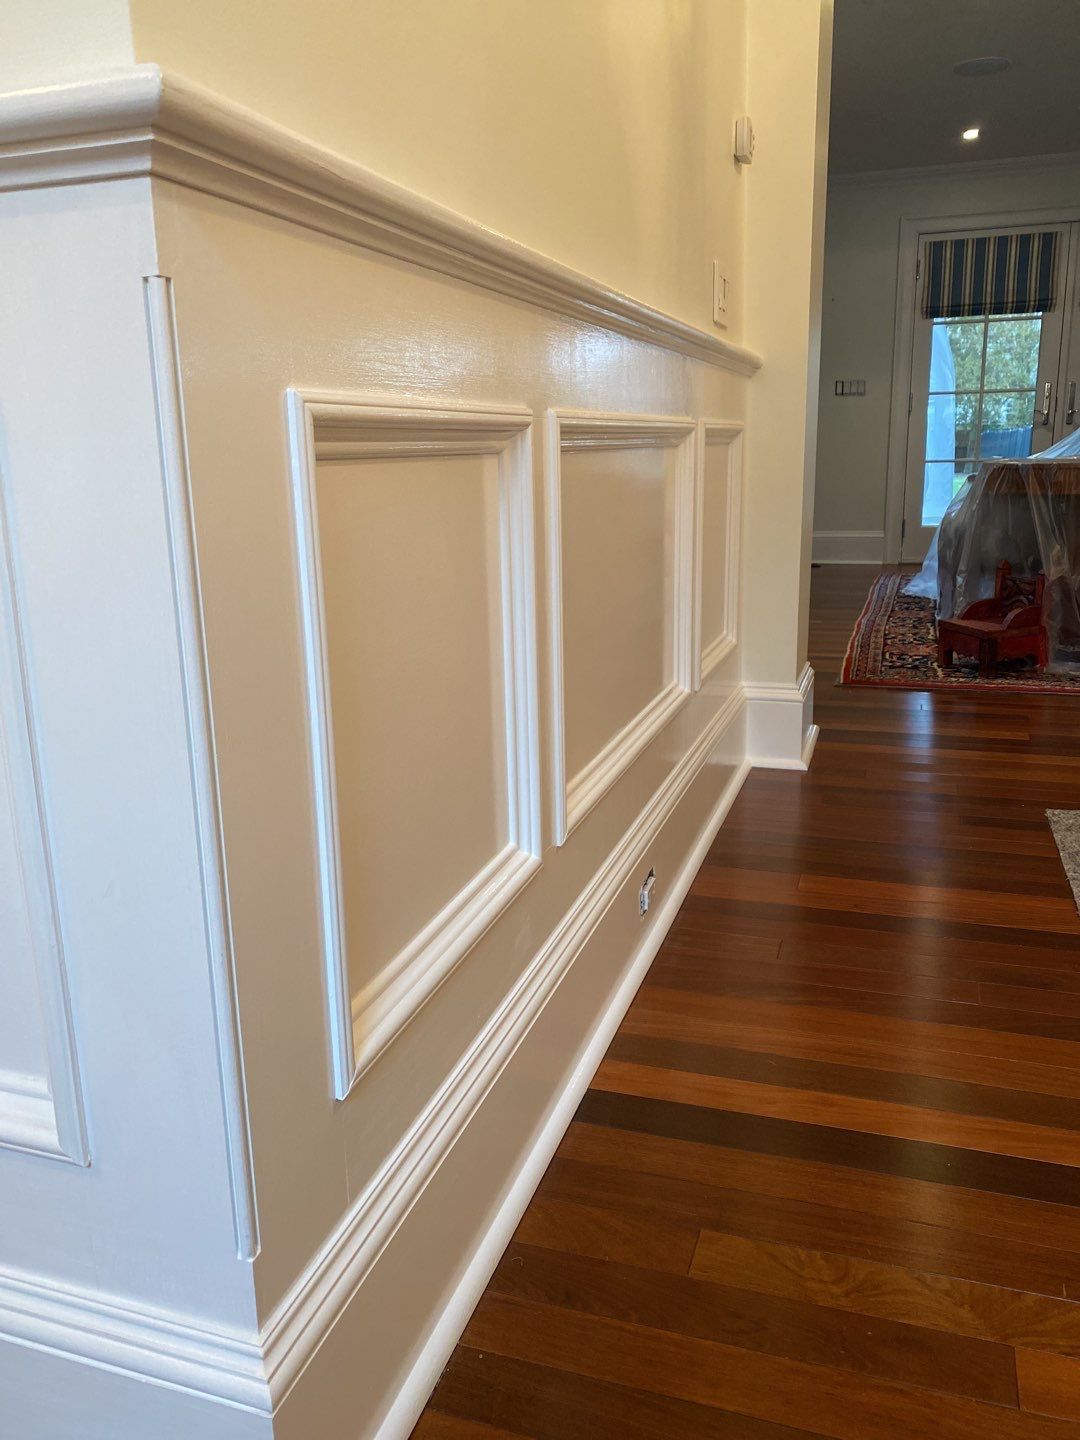
When your drywall takes a hit, what do you do? Well, it depends on how bad the damage is. Minor scuffs and scratches can often be removed or painted over. More severe drywall damage may require significant repair or even replacement. But if the damage to your drywall falls somewhere in between these two poles, a patch job might do the trick.
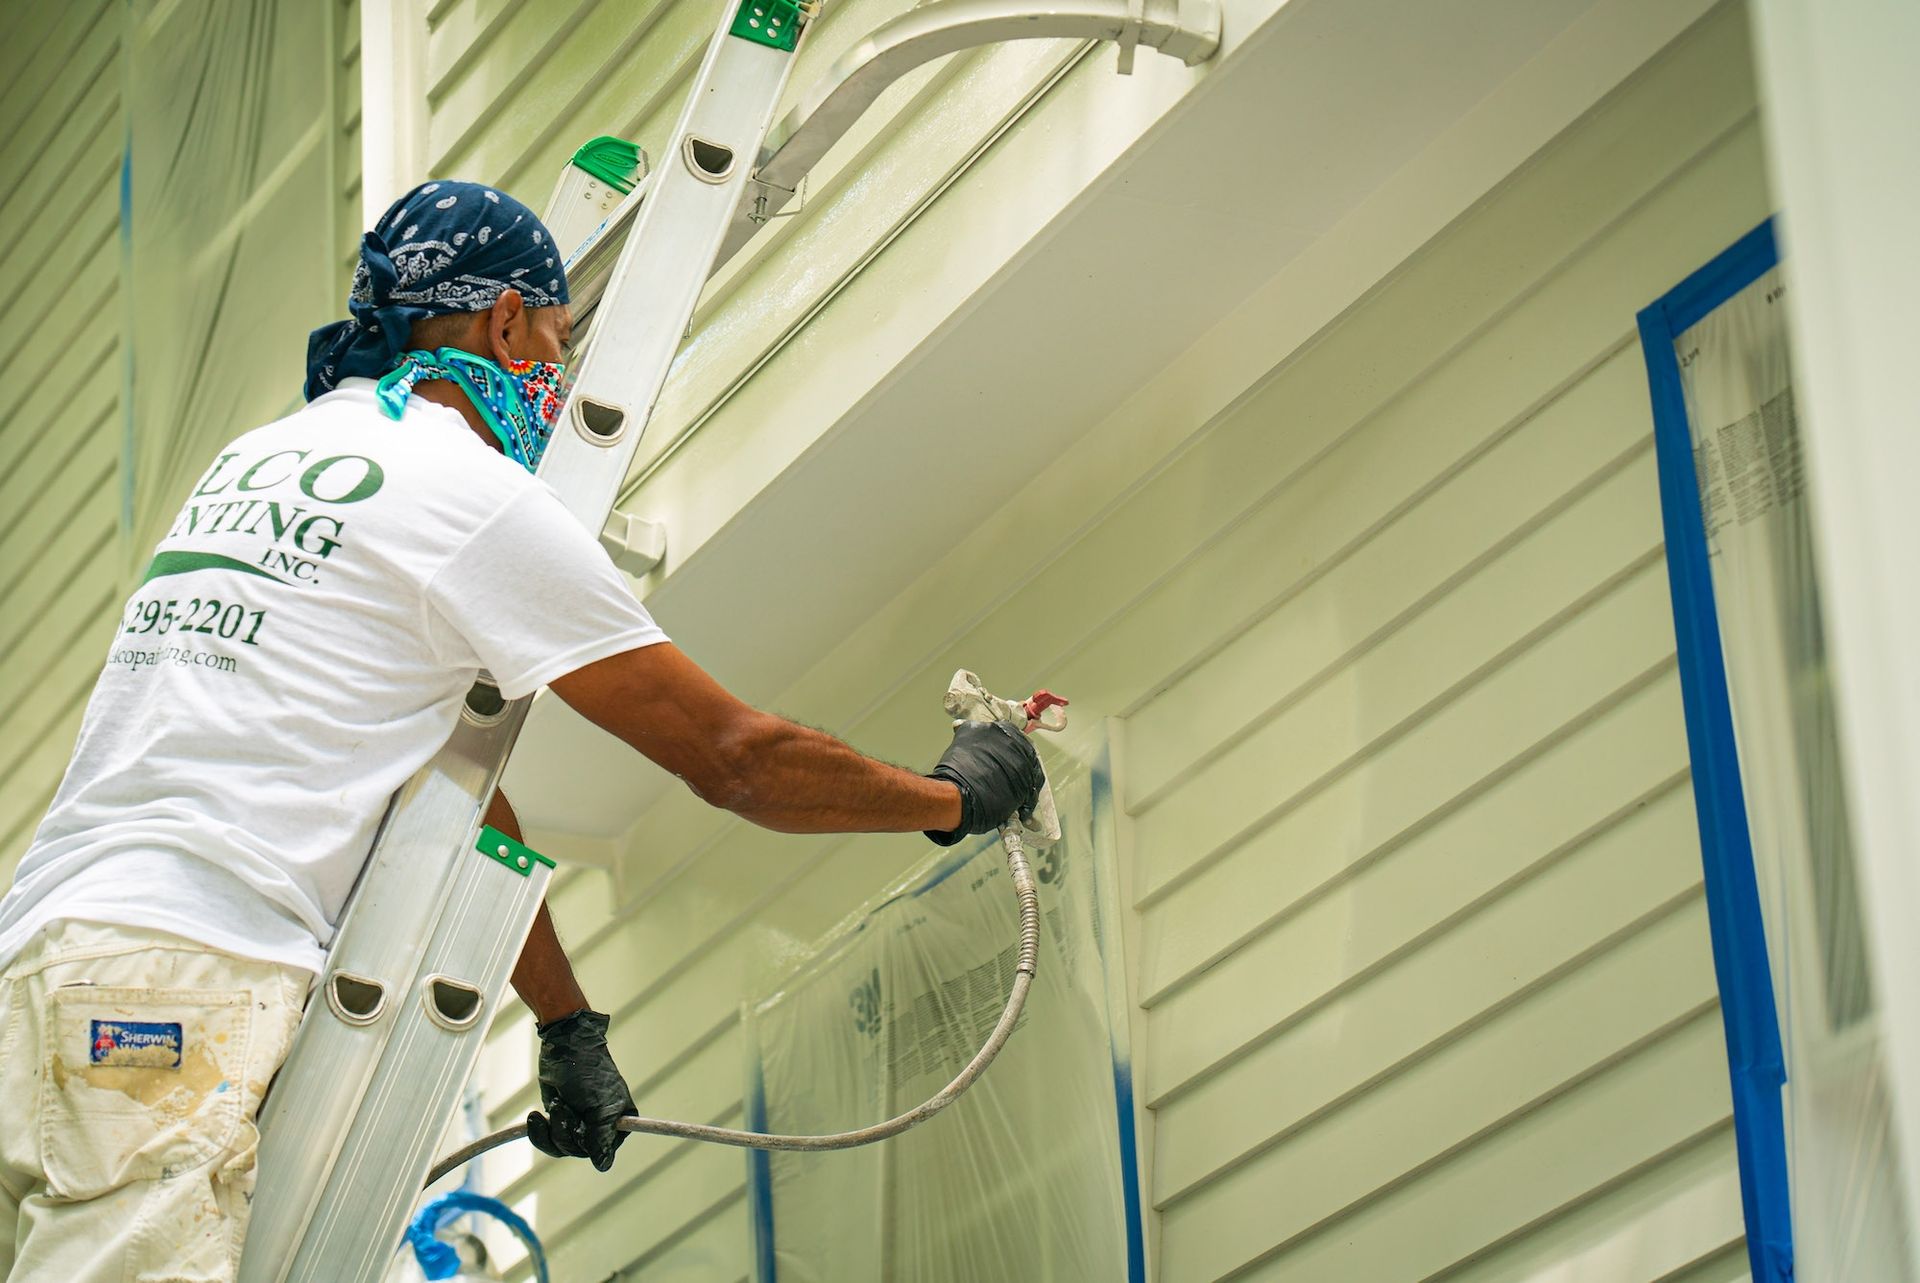
Of course, you can always contact a professional contractor to repair your drywall. Better yet, hire a residential painting contractor that also specializes in home repair. But if you prefer to give it a shot yourself, you can definitely patch your drywall, as long as you have the right tools, the right paint, and can follow instructions. Let’s go over how to patch drywall yourself.
What to Know About Patching Drywall Yourself
What Tools Do You Need?
Generally speaking, drywall patch jobs require the same set of tools and materials. However, depending on where the damage is located on your drywall and how large the hole is, you may require some additional things.
For the smallest and most basic patch jobs, you can typically get away with purchasing a drywall patch kit from your local hardware store. These kits will contain everything you need, including a putty knife, joint compound, the patch itself, and a sheet or two of sandpaper. For larger holes, you may also require a tape measure, drill, drywall screws, drywall saw, utility knife, sanding tool, drywall tape, and a decent amount of drywall itself.
Different Patching Processes
The reason for this disparity in necessary materials has to do with the different patching processes required for different scenarios. Patching a larger hole in drywall isn’t simply a matter of using a larger patch; it also often involves additional reinforcement and a new piece of drywall to fill in the hole.
When it comes to holes a few inches in radius or smaller, the patch kit has everything you need. Simply place the patch directly over the hole, adhering it to the surrounding wall. Then, apply joint compound over the patch using your putty knife. Give the putty some time to dry, then go over it once more. After the second coat dries, you can sand the area down and prime and paint over it.
The same principles apply to patching larger holes, but additional steps are necessary. First, instead of using a patch, you’ll want to cut off a square piece of drywall larger than the hole you’re patching. Then, you’ll want to trace around the hole using the cut piece of drywall as a stencil. Cut out around the hole so you have a perfect match for your new piece of drywall. If the patch is less than 6 inches wide, you can get away with attaching the new piece, applying joint compound, and finishing the job the same way as described above.
However, if the hole is larger than 6 inches, you’ll also want to attach furring strips inside the wall as an extra reinforcement for the new piece of drywall. Screw in the two strips to the wall and then screw the new piece to the strips. Once the hole has been filled, place joint tape over the edges to cover up the screws so your joint compound and paint can easily cover them up.
Painting Problems
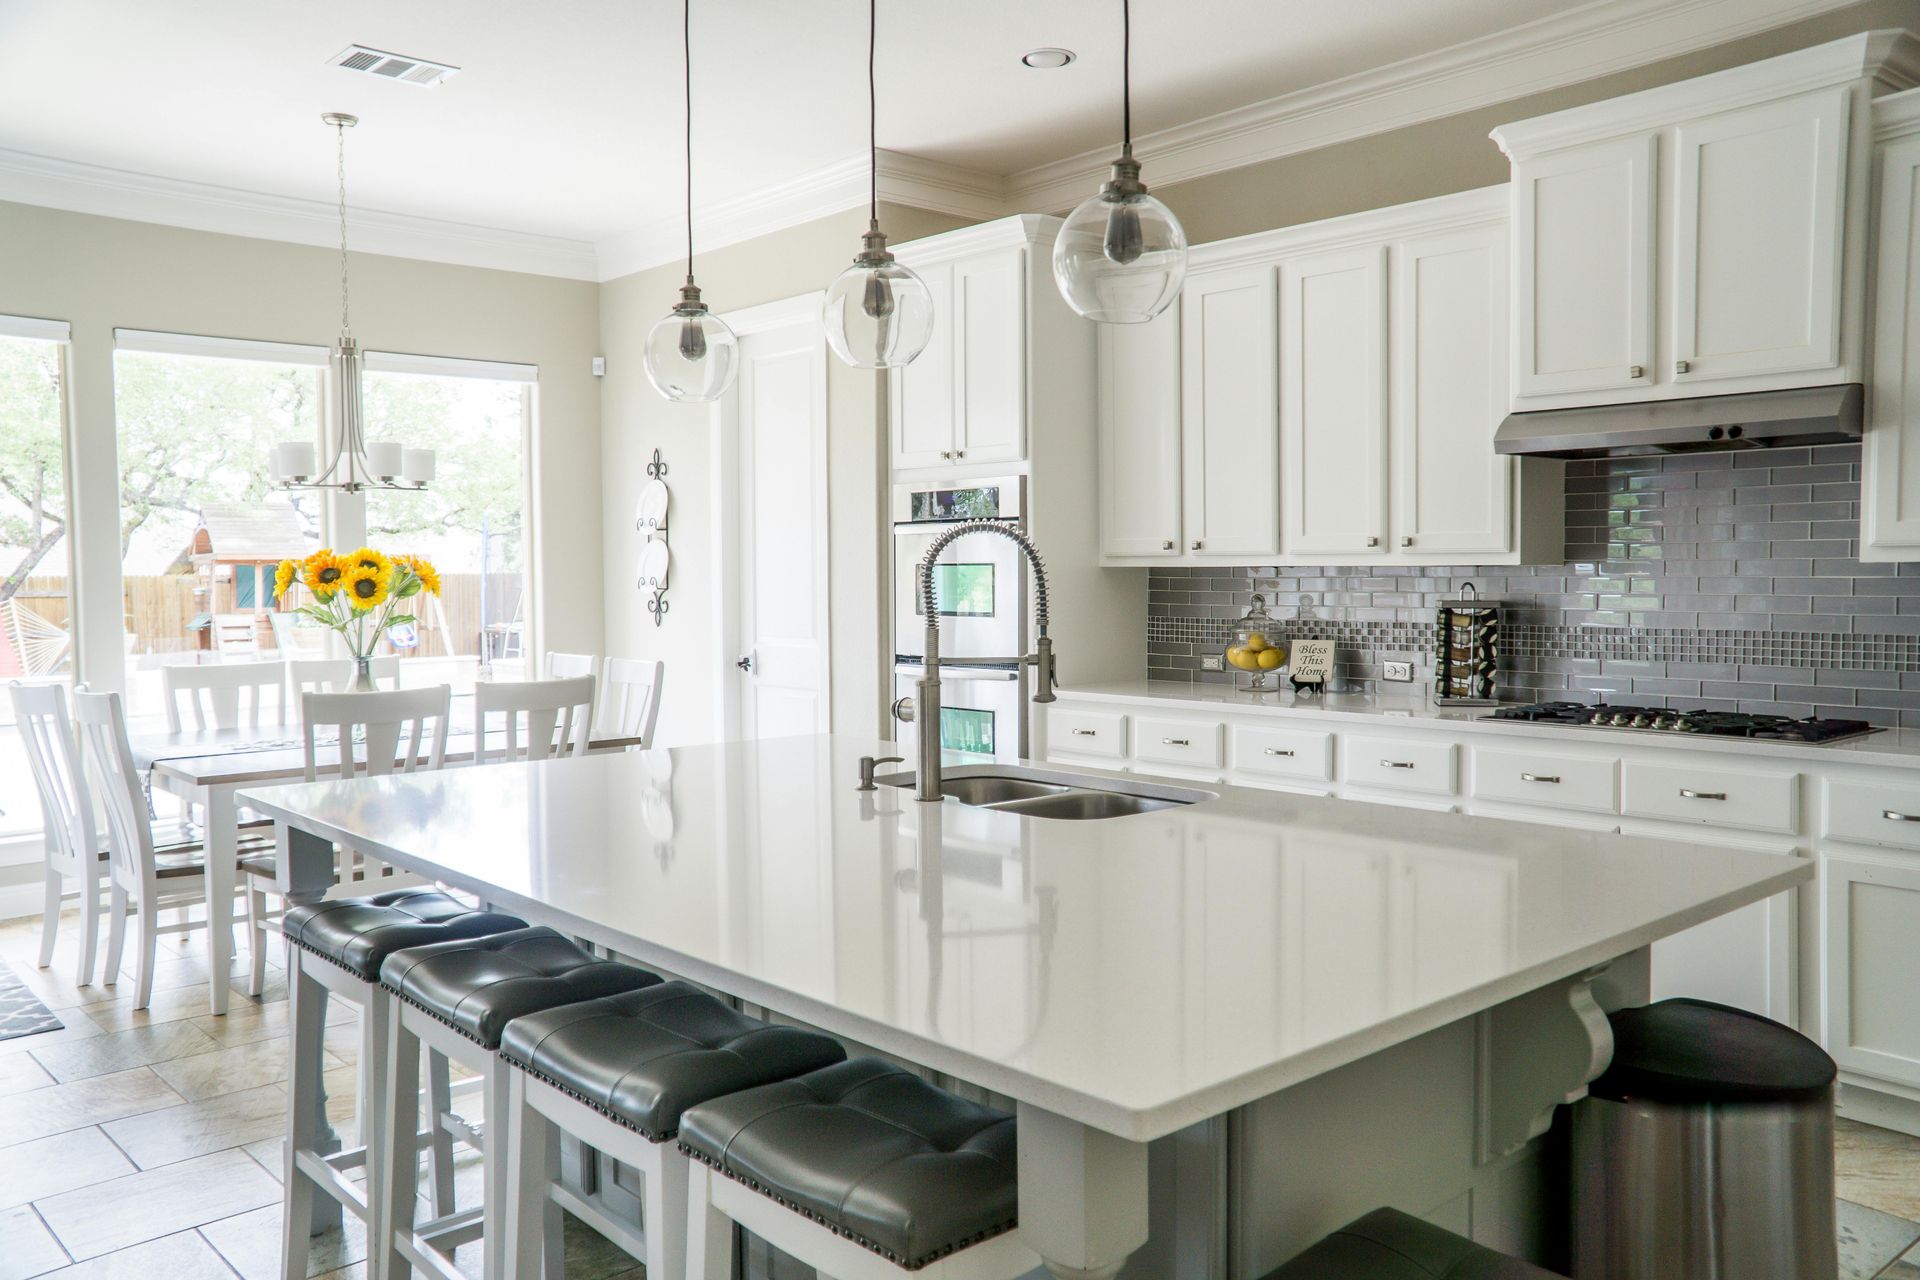
After you’ve patched your drywall, the job isn’t quite over yet. You still need to apply some interior paint to make your wall look as good as new. Keep in mind that if you use a different brand, color, sheen of paint, or a different application method, the result won’t be seamless. This is why it’s crucial to keep track of the exact kind of paint you used for your home interior painting , and to save leftover paint after a project.
If you don’t have the paint from before, or a record of what you used, don’t panic. Hardware stores offer color matching tools to find the right match for your paint job. Professional painting services can also help you determine the paint you need for your drywall repair job.
Too Much Effort?
If all of the details above overwhelm you, you’re not alone. Patching your own drywall is certainly doable, but many people don’t have the time, energy, or confidence to tackle the project alone. If you require drywall repair and/or residential painting services , ELCO Painting has you covered on both fronts. Let us help you fix up your drywall and your home. To learn more about us, and to get a free estimate, give us a call at 401-295-2201!