

The 8 Steps of Cabinet Refinishing
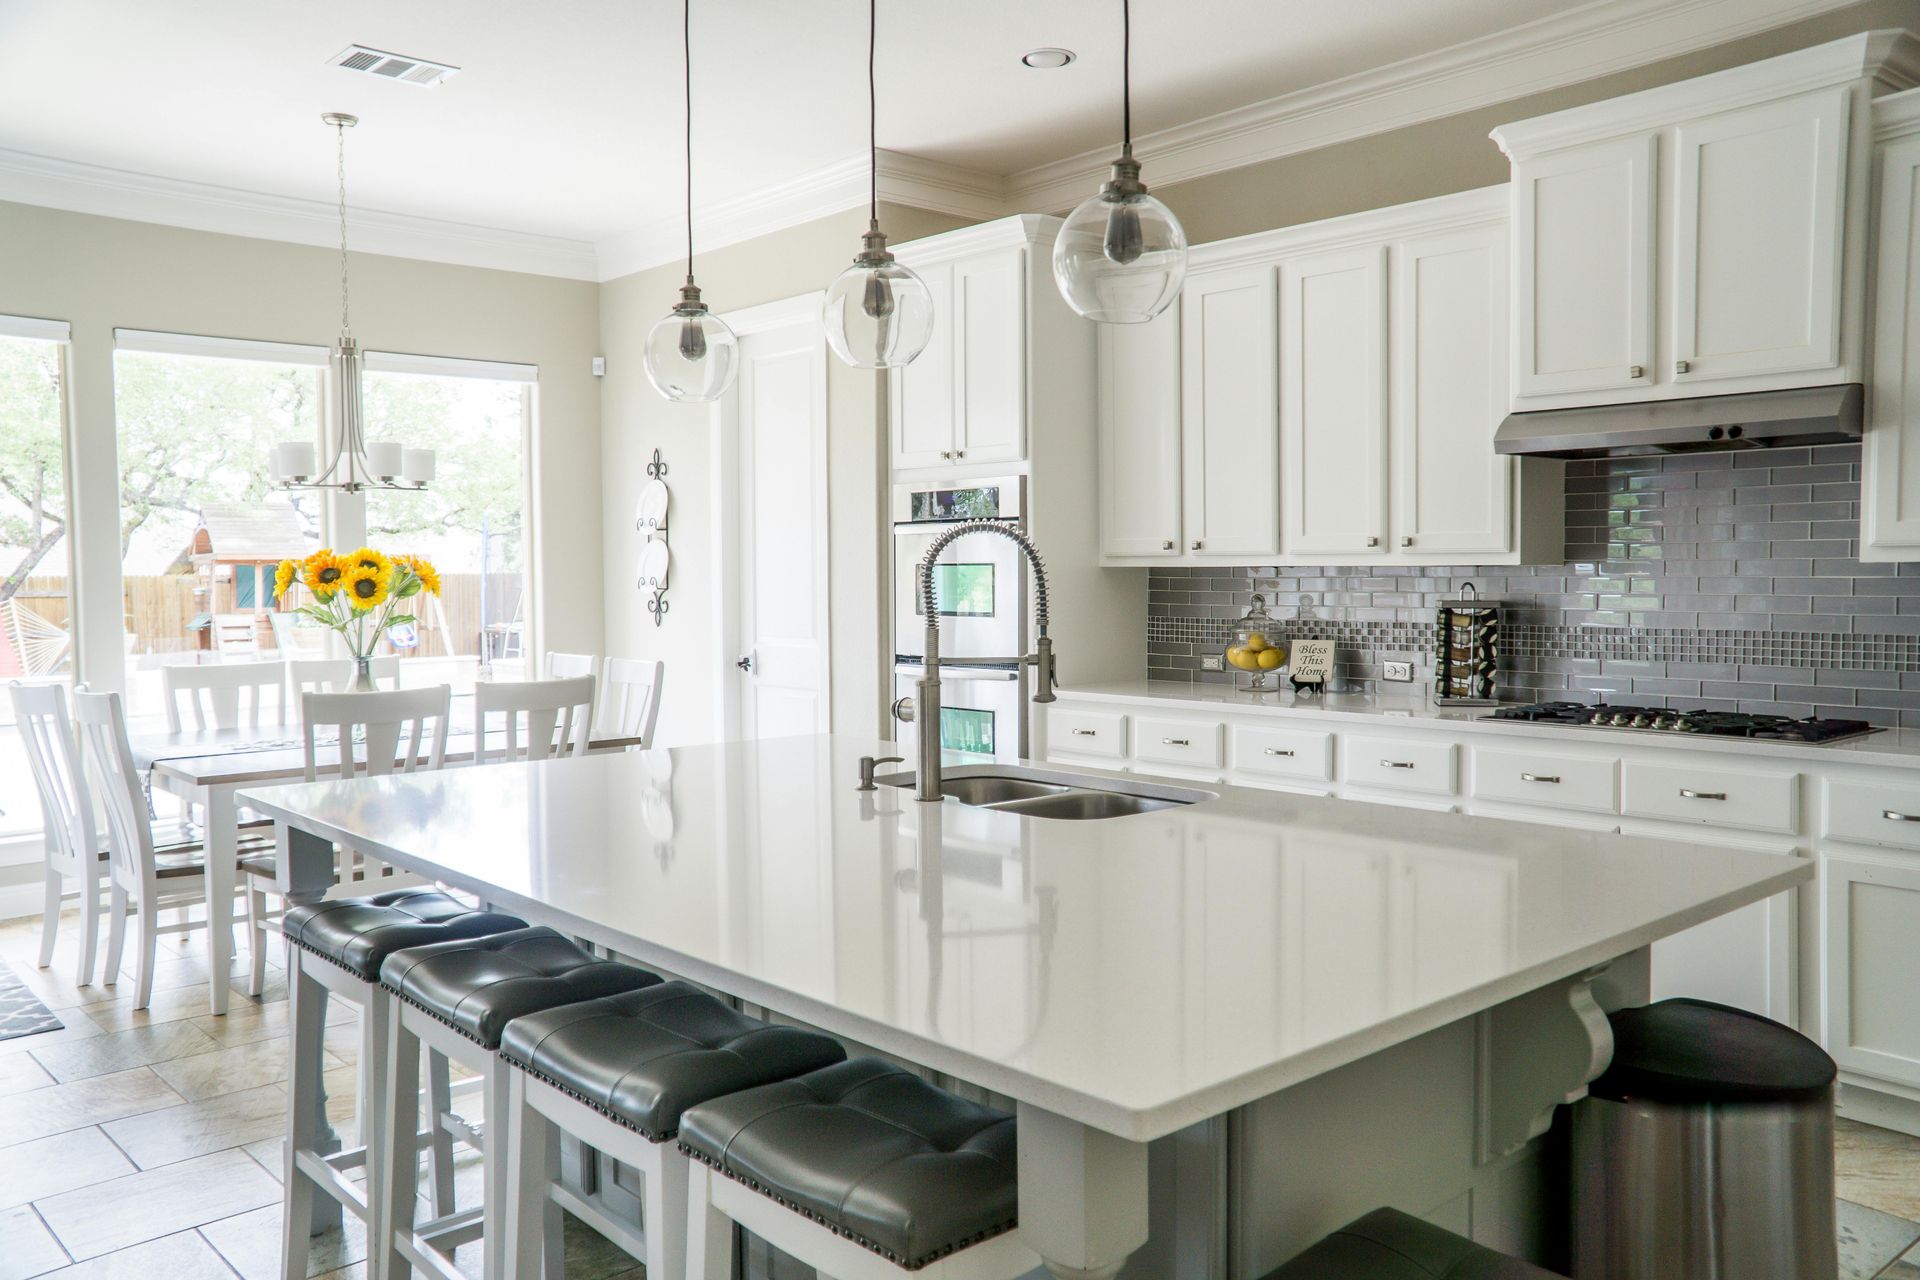
Cabinets make up a significant portion of a kitchen’s overall appearance. If your cabinets are outdated, worn down, or in need of some new life, refinishing them can transform your entire kitchen or any other room featuring these fixtures. You could try tackling this project yourself, but cabinet refinishing is easier said than done. It’s wise to hire an experienced residential painting contractor. To give you a deeper understanding of this process, let’s go over the eight major steps of cabinet refinishing.
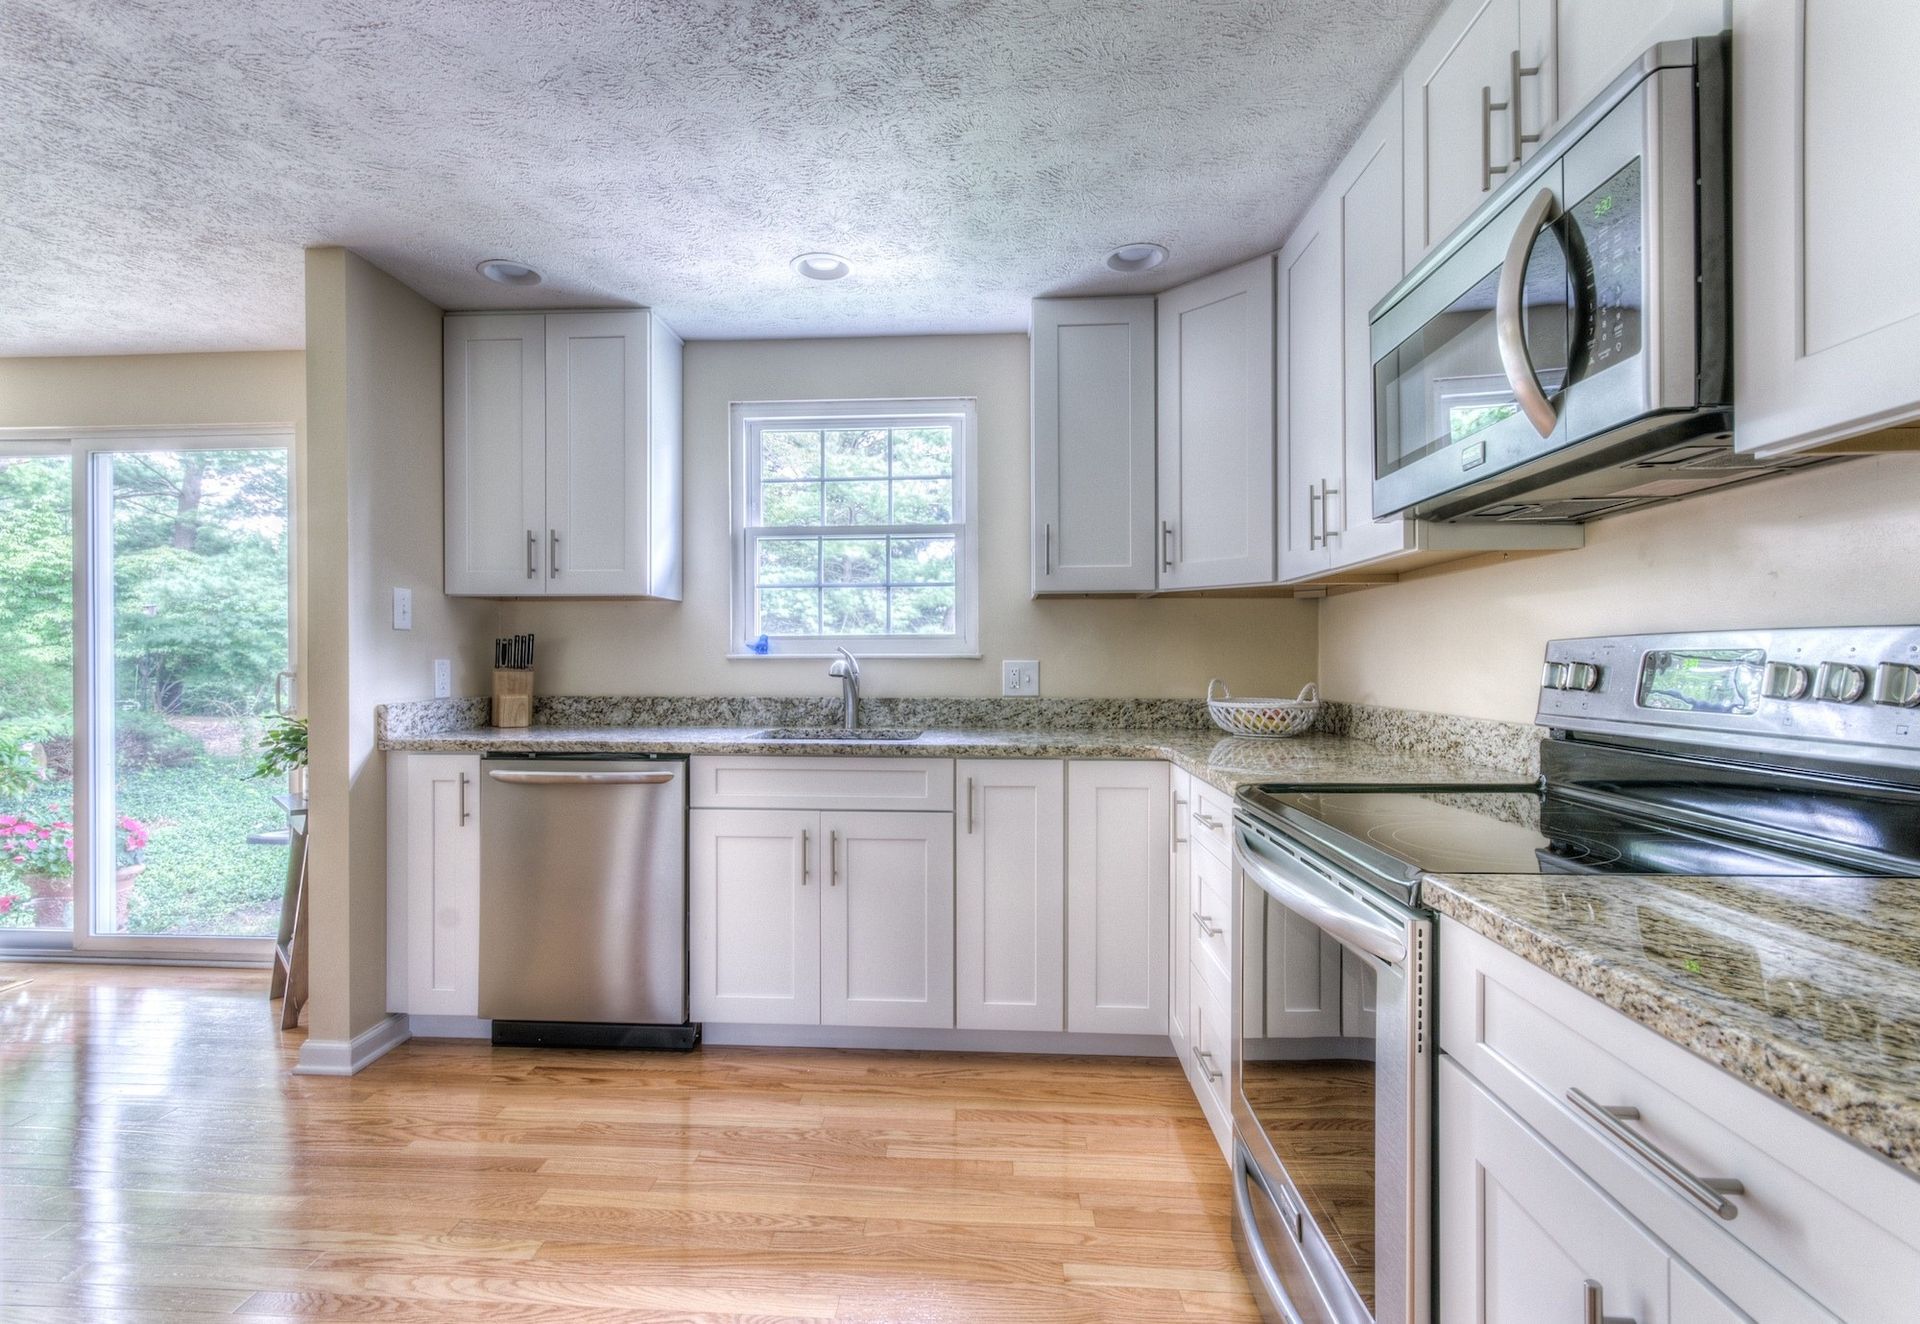
What to Expect from Cabinet Refinishing
1. Cabinet and Hardware Removal
The first step of cabinet refinishing is to carefully remove all doors and hardware. Unlike some other interior features, cabinet doors are not permanently fixed. They commonly attach to the cabinet box via a hinge or other type of hardware. Having the ability to remove the cabinet doors and hardware is actually advantageous to the refinishing process, as it allows for easier access and added work space.
2. Cleaning and Sanding Cabinet Boxes
Once the doors and metal parts have been cleared away, contractors can begin preparing the cabinet boxes by thoroughly cleaning them, letting them dry, and then sanding them nice and smooth.
3. Priming and Painting Cabinet Boxes
Next, it’s time to apply primer or sealer to the cabinet boxes so the paint will easily adhere to the surface. You may choose a tinted primer to match whichever color you wish to paint your cabinets. Two coats of interior paint may be necessary depending on the type of paint and primer you use. Covering the outward-facing portions of the cabinet boxes is the priority here, though some homeowners may want the insides of the boxes painted, too. A brush can be used for the entire process, though a roller might do a quicker job of coating the exterior surfaces.
4. Getting Out of the House
Once your professional painting services have successfully refinished the cabinet boxes, it’s time to let it all dry. This is the perfect time to take the cabinet doors and hardware back to the shop where they can be easily cleaned, sanded, and coated away from the house. Depending on the size of the team, this step may already be underway.
5. Cleaning and Sanding Cabinets
As with the cabinet boxes, the doors themselves must be cleaned and sanded down. However, this process is much easier since the doors are not attached to anything. All sides and edges can be easily handled and moved around as necessary for full coverage.
6. Priming and Painting Cabinets
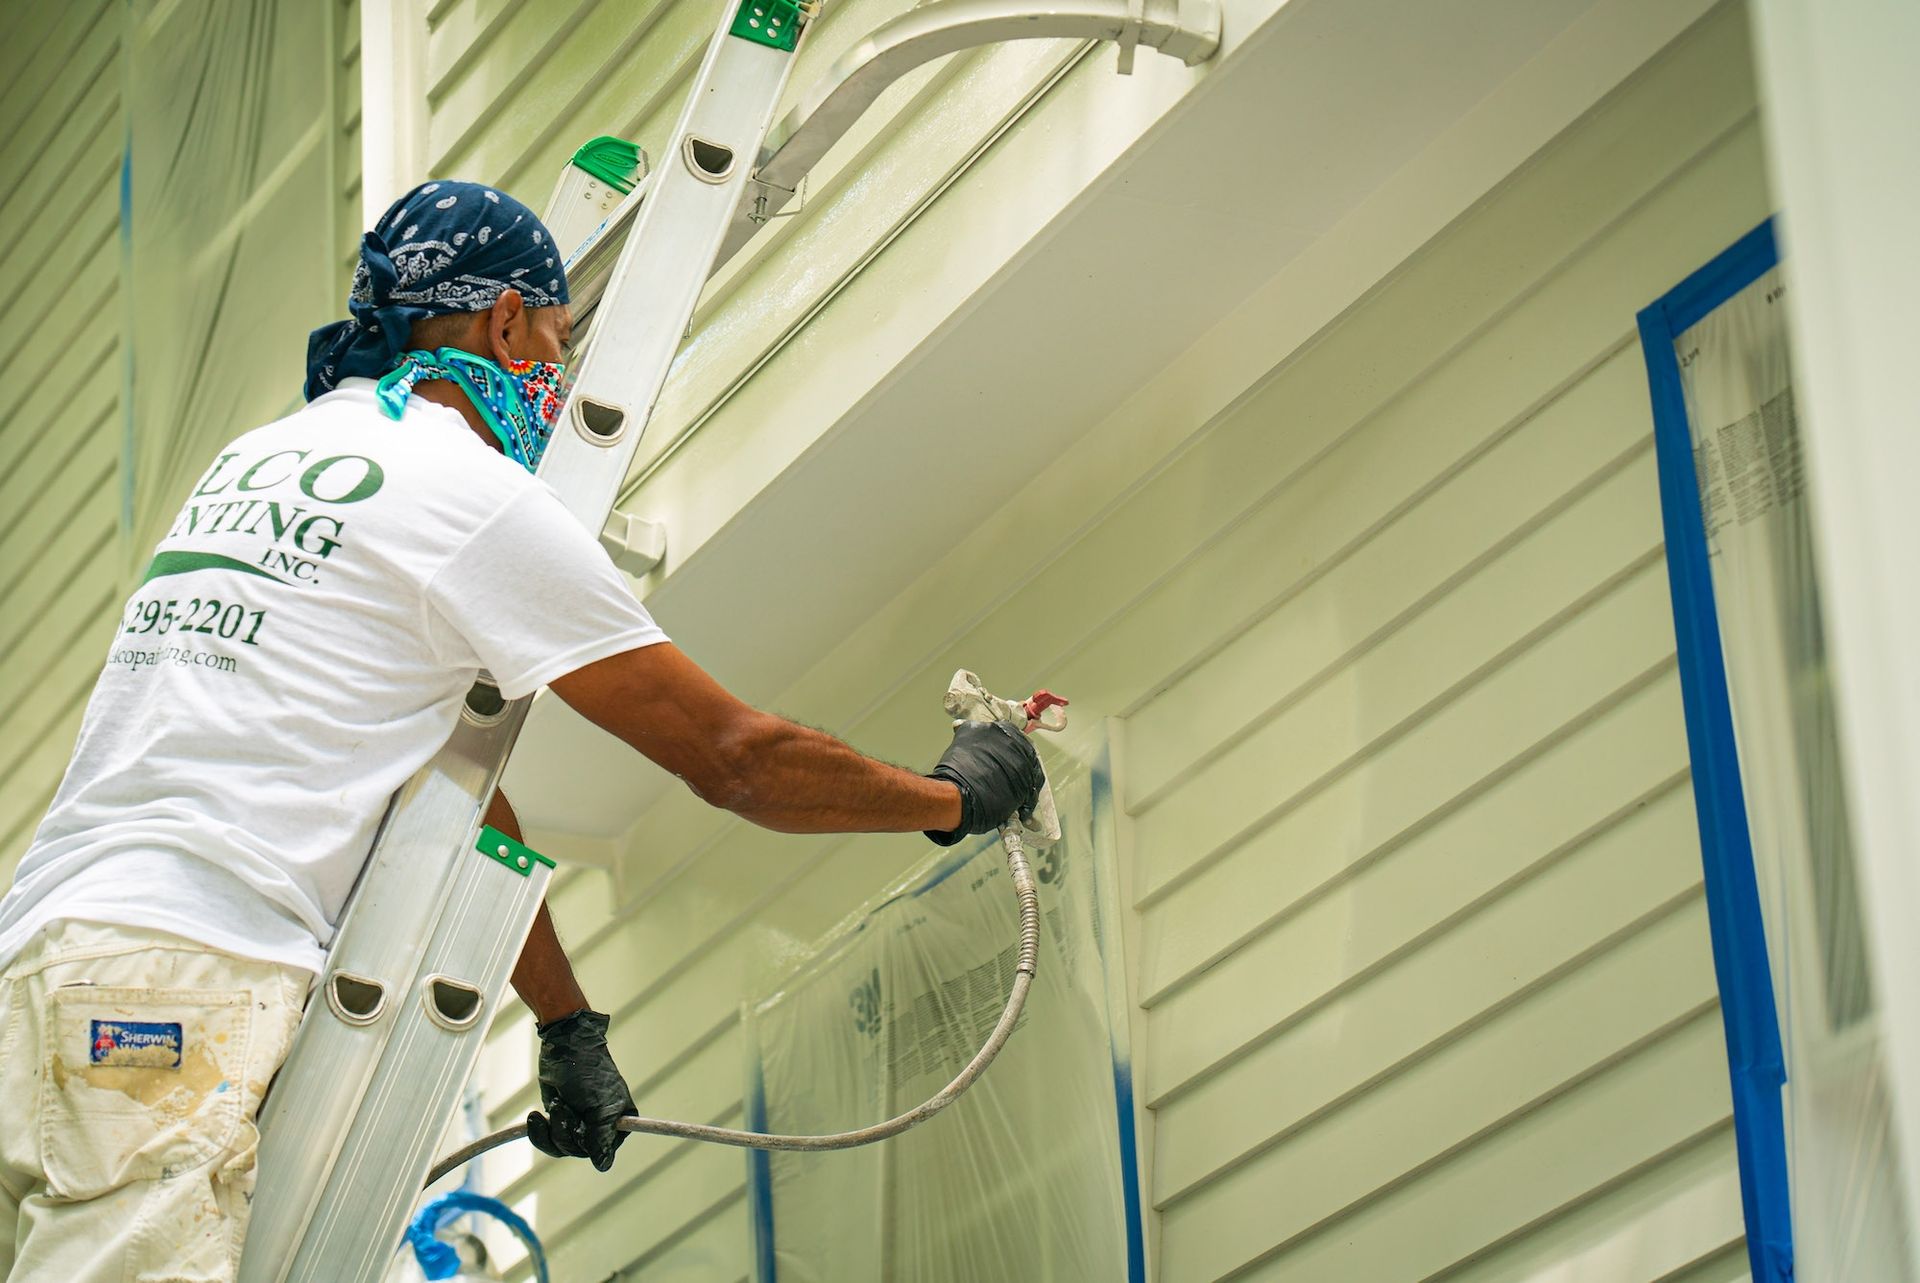
Priming and painting the cabinet doors is also simpler than painting the boxes. Some residential painting services will apply primer and paint with a sprayer because it’s more efficient and there’s no risk of getting the paint anywhere it shouldn’t be. Once the paint is applied, the doors are left to dry on racks.
7. Measuring and Drilling for Hardware
Once fully dried, contractors must ensure that the hardware, whether new or old, can properly fit back into the cabinets. They may need to drill new holes or re-drill existing ones depending on the situation.
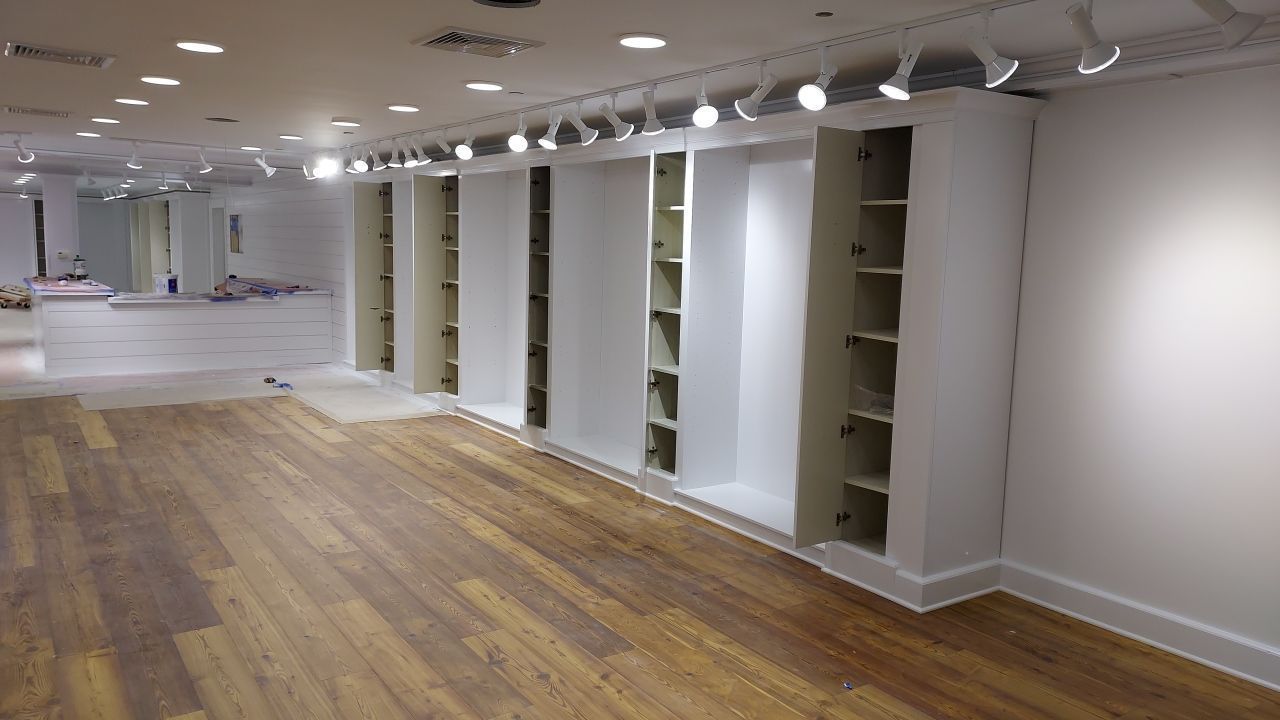
8. Re-Installation
Finally, it’s just a matter of putting those doors back where they belong. Your home interior painting contractors will carefully re-install your cabinets and ensure that everything fits properly and evenly. And just like that, your entire kitchen will look brand new, all thanks to your freshly refinished cabinets.
Of course, there are plenty of nuances, details, and smaller actions that must be taken within each of these 8 steps. That’s why it’s so important to hire a company that knows the process front to back and can handle all the intricacies in between. For comprehensive cabinet refinishing services, look no further than ELCO Painting. Our team of experienced painting professionals can transform your kitchen and any other interior space that needs an update. To learn more about us, and to get a free estimate, give us a call at 401-295-2201!